
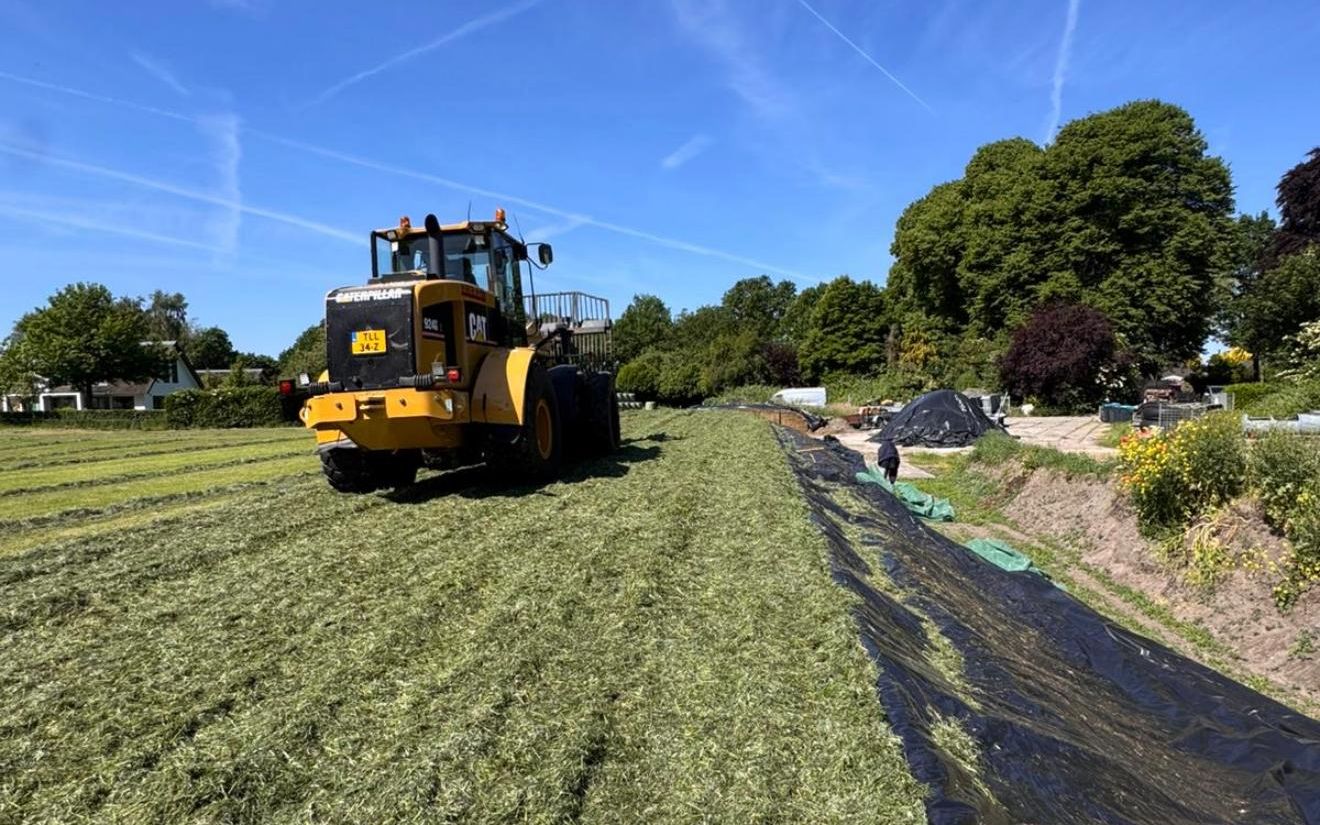
You make silage by storing grass or maize without oxygen, so lactic acid bacteria can ferment it. Work cleanly, ensile at the right dry matter, compact well and cover airtight and watertight straight away. Every hour the pit stays open after rolling costs about 1.5% of dry matter (Groeikracht, Veeteelt 2021).
dry matter is lost for every hour the pit stays open after rolling (field trial with bales)
Groeikracht, Veeteelt May 2021dry matter for grass silage, 32-36% for forage maize
Groeikracht and WUR Handboek Snijmaïsfeed-out rate per week: at least 1.5 metres, in summer at least 2 metres
Silage SafeAll year round you invest in good forage: growing, fertilising, harvesting and ensiling. Whether that investment pays off at the feed barrier and in the bulk tank depends on how well your silage is preserved. At every step, from a clean pit to feeding out, you can gain or lose feed value.
Silage is forage stored with as little oxygen as possible, so that fermentation preserves the feed. After covering, the crop and micro-organisms first use up the oxygen still in the pit. That can take a few hours to a few days, depending on compaction and covering. As long as there is oxygen, unwanted micro-organisms can grow.
Only when the oxygen is used up does fermentation start. Lactic acid bacteria turn sugars into lactic acid, the pH drops and the silage becomes stable. The sooner the pit is free of oxygen, the more feed value you keep. All the phases step by step are explained in what happens in your silage after ensiling.
Anything left behind in the pit gets ensiled with the crop, including moulds and bacteria.
Good fermentation needs sugar. Grass makes sugar in the sun: grass mown later in the day usually contains more sugar. A short wilting period helps to keep that sugar. Keep a stubble of 6 to 7 cm (WUR mentions 5 to 6 cm), so less soil and manure ends up in the silage. All the tips for spring are in first cut silage tips.
For maize, watch the chop length and the harvest moment. That harvest moment depends on the dry matter.
Ensile grass at 35-45% dry matter and forage maize at 32-36%. What goes wrong if your silage is too wet or too dry is explained below under dry matter content.
The less air stays in the pit, the sooner fermentation starts and the less deeply air gets in behind the silage face later on.
Cover as soon as the pit is finished. In a field trial with bales by Groeikracht, a Dutch silage advisory group, every hour of waiting cost about 1.5% extra dry matter. After 2.5 hours more than 6% of dry matter was lost, after 5 hours almost 10% (Veeteelt, May 2021). A tightly covered pit holds on to that feed value. Jarne Schuiling from Vries in the Netherlands says about his silage under Silage Safe: "We can now retain much more of the protein in our grass silage."
The complete step-by-step plan, also per crop and for the plastic, is in the guide covering a silage pit.
Rainwater raises the pH in your silage and carries dirt in with it, such as soil and slurry. Use side-wall plastic, cover watertight and make sure there is good drainage in and around the silage pit.
By then the pH has dropped far enough and the silage is stable. If you open it earlier, yeasts and moulds get another chance with the fresh oxygen. How fermentation works exactly: silage pH and fermentation.
Material that is too wet ferments slowly. Water is much less acidic than good silage and slows down the pH drop, which gives butyric acid a chance. Material that is too dry is stemmy and hard to compact, so more air stays in and the silage is more prone to heating. If you want to ensile drier, chop finer.
Heating happens when yeasts use oxygen to break down sugars and lactic acid. This releases heat and the pH rises. It starts where oxygen gets in: in the top layer and along the edges, at damage in the cover and, after opening, at the silage face. The worse the pit is compacted, the further the oxygen penetrates.
The heat and the higher pH make moulds and bacteria grow faster. Feed value is broken down and mycotoxins can form. The feed becomes less palatable, cows eat less, production drops and the health risks for your livestock increase.
In heating silage, the feed value can drop by 2-3% per day. Cows can also take in 10-20% less dry matter (WUR, Handboek Snijmaïs). You then have the same hectares and contractor costs, but less milk from your own forage and higher concentrate costs.
An example calculation from our brochure. A silage pit of 50 × 10 × 3 metres, with a small heap above the walls, holds about 1,750 m³ of grass silage. At 230 kg of dry matter per m³, that is 402,500 kg of dry matter. With a replacement value of €0.22 per kg of dry matter, that pit holds €88,550 in feed value. Heating can easily cost an extra 10% of feed value (Silage Safe brochure, Eurofins Agro). That is €8,855 per pit. These figures are an indication only, not a guarantee. The full calculation is in the brochure on our product information page. All the tips against heating are in preventing heating in silage.
Once heating has started, there is little you can do about it. You can stop it spreading:
Don't pull a loose piece of plastic over the silage face. Too much oxygen stays underneath, so it doesn't stop heating. In the sun, black plastic also works like a heater, so the feed warms up even faster.
 From the farm
“When I open the silo, I notice that the quality of the feed is really excellent.”Hermann TenBerge, Gronau (Germany) · read the story
Not sure about your silage?
We are happy to help.
That depends on the dry matter. Wet grass silage (below 25% dry matter) is good at a pH of 3.8 to 4.2. The drier the silage, the higher the pH can be: at 35% dry matter up to about 4.6, at 45% up to about 5.0 and at 50% up to about 5.2 (WUR, Handboek Melkveehouderij). Maize silage is usually at 4.0 to 4.2 (WUR, Handboek Snijmaïs).
At least 6 weeks. By then the pH has dropped far enough and the feed stays stable after opening.
Remove warm or mouldy feed. If you are unsure about the rest, talk to your feed adviser or have a silage analysis done.
Updated on 5 November 2026.
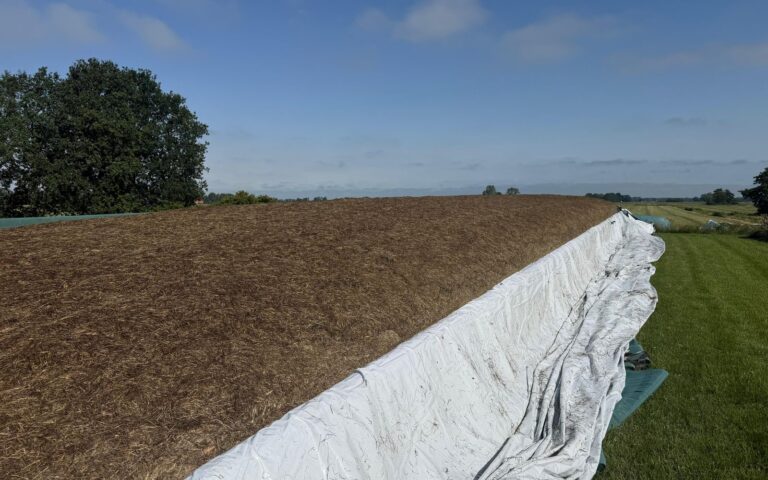 Ensiling & compactionTips
During silage fermentation, lactic acid bacteria turn sugars into acids, which makes the pH drop. Wet grass silage is good at a…
Grass · Maize4 min read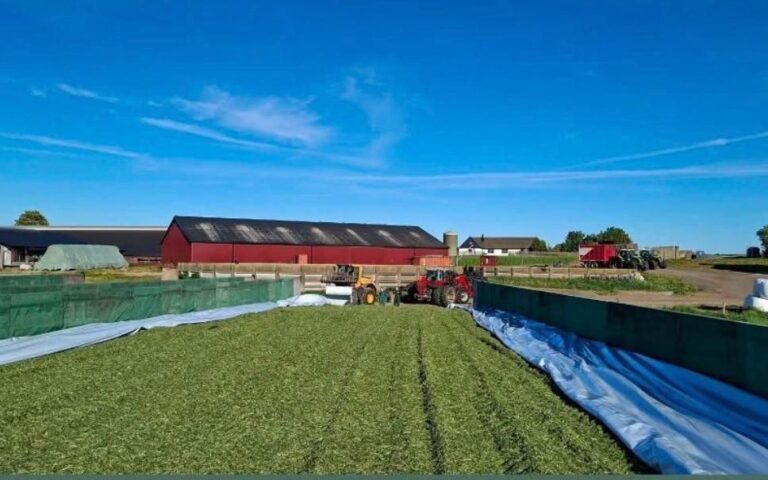 Ensiling & compactionTips
Roll silage in layers (grass up to 20 cm, maize 30-40 cm) with a weight of at least half the hourly intake:…
Grass · Maize3 min read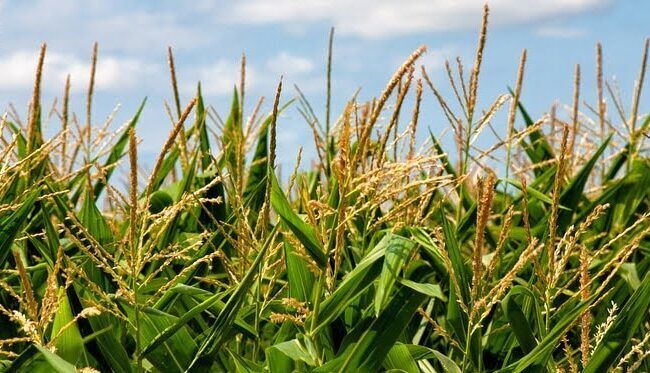 Ensiling & compactionTips
You improve maize silage quality mainly at harvest and ensiling. Harvest at 32-36% dry matter (WUR, Handboek Snijmaïs), chop at 6 to…
Maize4 min read