
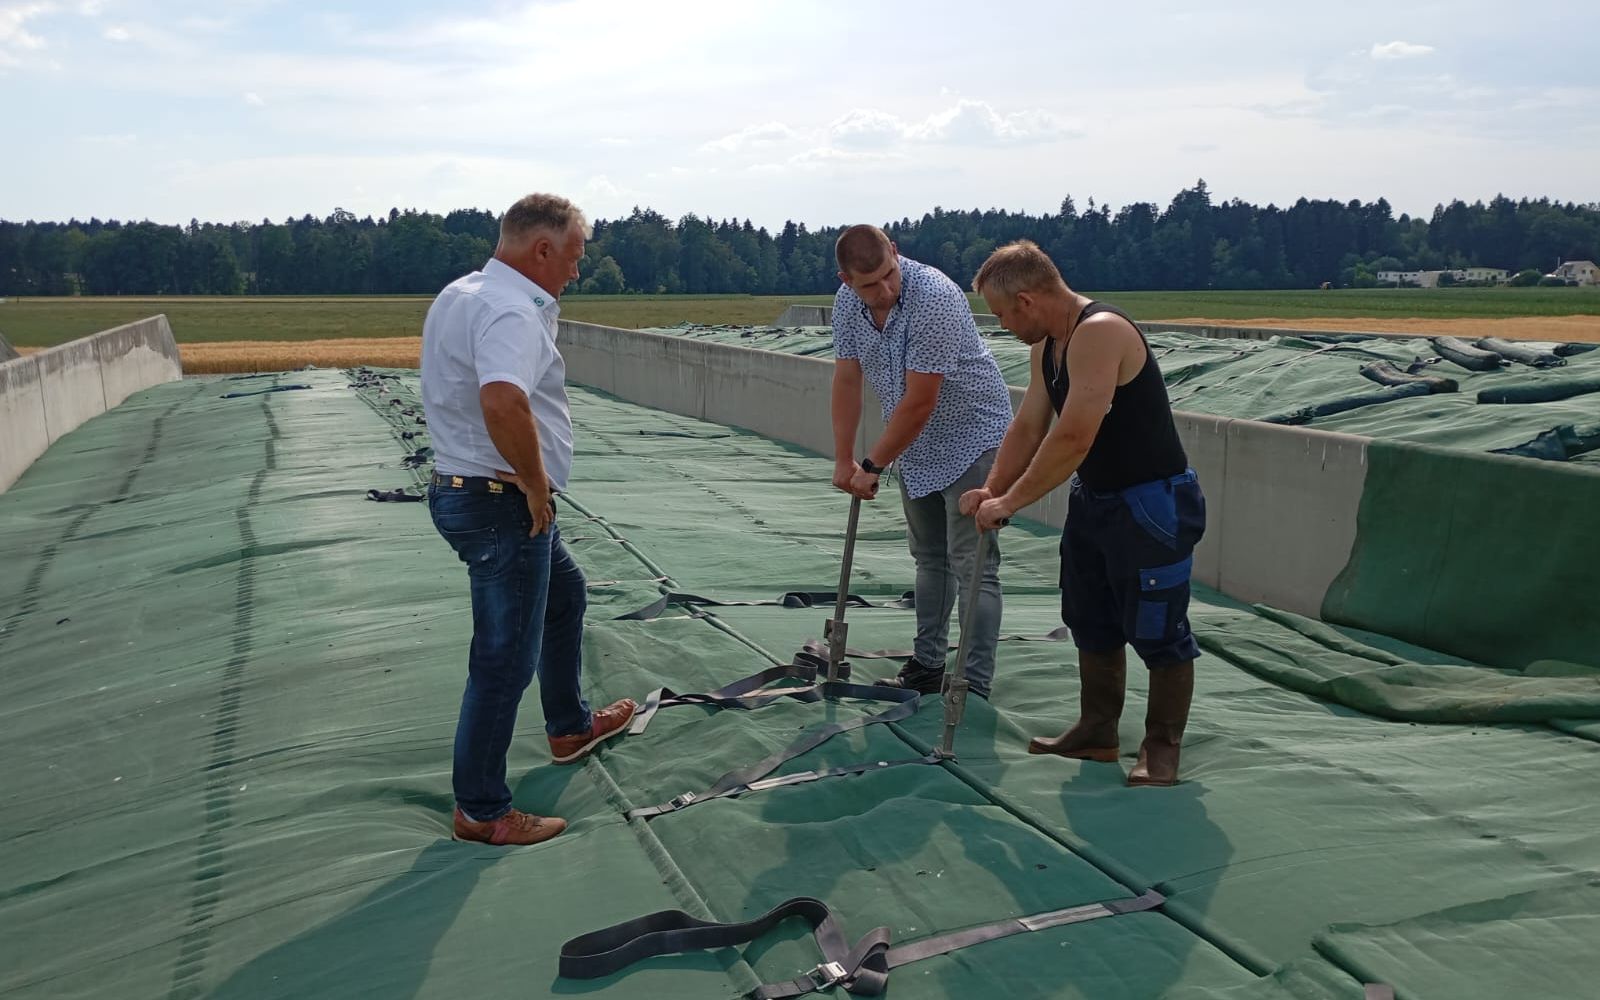
Cover your silage pit straight after rolling. Start with a clean, dry pit and side-wall plastic down to the floor. Lay underlay film over the full width, pull two sheets of silage plastic over the silage and fix the edges tightly. If it goes wrong, heating easily costs an extra 10% of feed value (Silage Safe brochure, Eurofins Agro).
of plastic on every part of the silage: underlay film and two layers of silage plastic
Silage Safeextra feed value is easily lost through heating
Silage Safe, brochure 2026 (Eurofins Agro)with Silage Safe, leave at least this much plastic on the floor so rainwater can't run into the silage
Silage Safe, manual in the brochure 2026After a long day of ensiling, you want the pit closed quickly. That is exactly when you decide whether it will be airtight and watertight, or whether you will see heating, mould and feed losses in what your cows eat later on. Most problems come down to timing, method or materials.
The steps below run from preparing the pit to feeding out. Where it helps, there is a link to more detail. In this article, silage pit means a walled pit, also called a silage clamp or bunker silo.
In a well-sealed pit, lactic acid bacteria turn sugars into lactic acid. The pH drops and the feed stays stable. If air or water gets in, yeasts, moulds and bacteria get their chance. The result is heating (aerobic spoilage), rotting silage and less feed value. Heating can easily cost an extra 10% of feed value (Silage Safe, brochure 2026, based on Eurofins Agro). You notice that in what your cows eat and in your bulk tank. With the 7 tips against heating in silage you can recognise and prevent it.
In short: clean and dry the pit and the access route, mow around it, make sure water can drain away and check the walls and floor.
Anything left in the pit gets ensiled with the crop. Clear away old plastic, feed residue and dirt, remove standing water and sweep the floor. Don't forget the access route, or the tractors will still carry slurry, mud and old feed into the silage.
Mow and trim around the pit, and do it in good time. Hard stubble punctures your plastic, and tall vegetation gives mice and rats a place to hide. Also make sure gullies and drains are open and clean, so rainwater and silage effluent can drain away. Finally, check the walls for cracks, worn sealant joints or sharp edges.
In short: use new, strong silage plastic, an underlay film directly on the silage and side-wall plastic down to the floor.
Silage plastic is never completely airtight. That is why you choose strong plastic that is thick, puncture-resistant and stretchy enough. Never use old silage plastic: it holds traces of soil, silage and water, and often has small holes already.
Underlay film is thinner and clings to the silage. That leaves less air between the plastic and the silage, so fermentation gets going faster. Side-wall plastic stops water that leaks in along the walls. Sealant joints in the walls are often worn after one or two seasons.
Which plastic to choose and how wide it needs to be is covered in silage plastic, underlay film and side-wall plastic.
In short: before ensiling, lay the silage plastic over both walls, down to the ground and a good way across the floor.
We recommend working with an underlay film and two large sheets of silage plastic. Choose plastic that covers the full length of the pit in one piece. For the width, add the silage height to the width of the pit. For a pit 8 metres wide with silage 2 metres high, choose plastic 10 metres wide. Then you don't need separate side-wall plastic and there is a double layer everywhere.
Lay the plastic over both walls, pull it down to the ground and leave a good length of it lying on the floor. That way rainwater can't run into the silage, even while the silage is still below the top of the walls. Then fill the pit and roll it firm and even. Finish the top smooth and slightly rounded, so no water stays on it (WUR). If you work with Silage Safe, leave at least 20 centimetres of plastic on the floor and give the silage a rounded top, so the covers pull the plastic tight over the silage and the water runs off through the drainage.
In short: start immediately after rolling, with everything ready and one person in charge.
Work with enough people, but let one person take charge. That person keeps the overview and stops everyone doing it their own way.
Grass and maize each need something different: see covering grass silage and covering maize silage.
In short: don't open the pit too early, keep a tidy silage face and feed out fast enough.
Don't open the pit within 6 weeks: by then it hasn't fermented enough. Keep the silage face smooth and don't leave loose silage lying in the pit. Remove bad patches so they don't spread. And make sure your feed-out rate is high enough: at least 1.5 metres per week in winter and at least 2 metres in summer.
In short: most air gets in along the sides, so that is where the pressure needs to be highest.
Along the walls, the silage is hardest to compact. So that is where most air sits. If the edges aren't finished well, the pit stays leaky and you keep losing quality along the sides. Tyres and soil don't stay well on the edges, and that is also where rainwater gets in. That is exactly where heating and mould start.
A covering system that pulls the edges inwards does keep pressure there. Dairy farmer Bouwman from Den Andel sees it in his pit: "When you see it lying like that, you can also see the silage is tightly covered, especially at the edges." Read his experience with Silage Safe.
In short: in wind, work quickly and keep the plastic low, start on the windward side and fix the plastic straight away. Keep rainwater out of the silage with side-wall plastic and good drainage.
Wind is one of the hardest things when covering. The plastic doesn't stay in place and can tear. If you have already laid the plastic over the walls, it is fixed on one side. Put a few sandbags on the edge on the windward side, or have someone hold the plastic down on the ground. Pull the plastic low over the silage and fix it straight away with weight or a row of covers. If you work with Silage Safe, in strong wind first secure one cover at the front, one in the middle and one at the back, then lay the rest, starting at the back.
Water has a higher pH than well-fermented silage, brings in unwanted bacteria and washes out nutrients. As long as the pit is airtight, the damage is limited. But when you feed out, heating and spoilage spread faster. Here is how to keep rainwater out of your silage.
In short: tyres and soil mean a lot of work and little pressure on the edges. A covering system spreads the pressure more evenly.
For years, car tyres or a layer of soil were the standard. They add weight and keep the plastic in place. Still, they have clear drawbacks.
Car tyres all have to be laid by hand and cleared away again when you feed out. Water and dirt collect in the tyres, and that attracts pests. Old tyres contain steel wires that come loose as the tyre slowly breaks down. If those end up in the feed, your cows can get hardware disease. On top of that, a tyre only gives weight in one spot and often doesn't stay on the edges.
Soil is even more work. In winter it can freeze, which makes the pit hard to open. It brings in contamination, doesn't stay well on the edges and attracts more pests because of the plants growing on it.
A covering system with covers and straps spreads the pressure more evenly, works faster and is cleaner. With Silage Safe you cover with 2 people. Anton van de Ende from Schipluiden puts it simply: "No more hauling tyres!" See how the system works on our product information page.
In short: after each new cut, cover the silage just as well as the first time.
When you add another cut on top of the existing silage, you ensile in several layers. The pit is opened more often and so gets air more often. With tyres or soil, it is often covered less well in between, to save work. If you put the plastic in place as described above, it stays fixed at the wall. You then don't have to pull it over the whole pit again each time. A covering system helps you cover properly in between without much extra work: with Silage Safe the plastic and covers stay in place, and after ensiling you cover again quickly.
The same rules apply to pressed beet pulp and brewers' grains.
 From the farm
“Even with last fall’s storm, everything is still tightly secured.”Hornstra, Ter Idzard (Netherlands) · read the story
Not sure about your silage?
We are happy to help.
Straight after rolling the last layer. The longer you wait, the more oxygen stays in the silage and the later fermentation starts. That increases the risk of heating.
We recommend an underlay film and two sheets of silage plastic that overlap. Then there are at least 3 layers of plastic everywhere.
With tyres or soil you need enough people to work quickly, and one person in charge. How many depends on the size of your pit. With a covering system like Silage Safe you cover with 2 people.
Not within 6 weeks of ensiling. Before then the silage hasn't fermented enough and isn't yet stable.
Updated on 5 November 2026.
 Covering & protectingProblem & solution
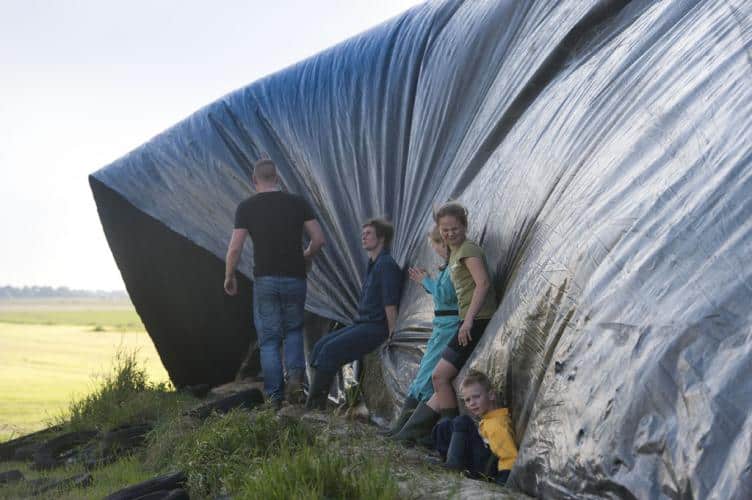
If the plastic blows loose in a storm, put it back quickly and hold it down with weight or covers, starting on…
Grass · Maize5 min read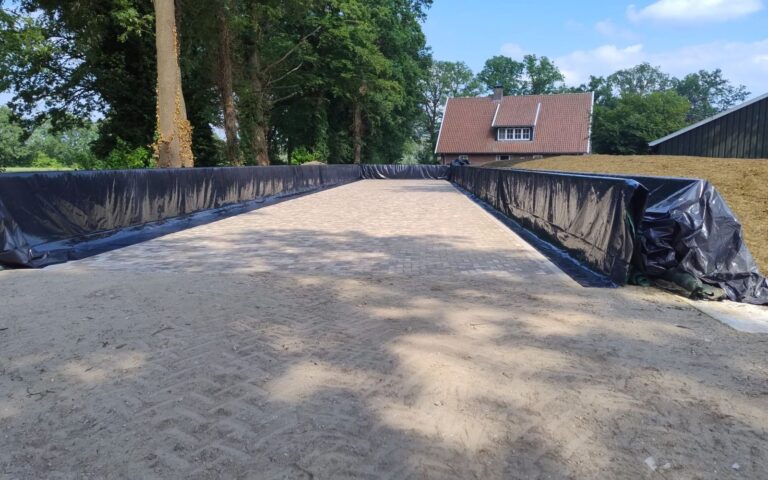 Covering & protectingTips
Prepare your silage pit well before ensiling. Clean and dry the pit and the access route, mow around it and make sure…
Grass · Maize6 min read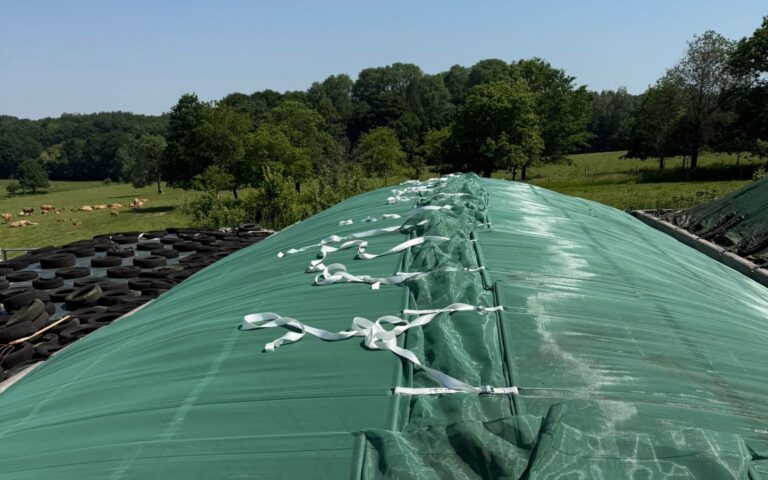 Covering & protectingTips
You prevent pests at your silage pit by taking away food, water and hiding places. Clear up silage residue straight away, mow…
Grass · Maize4 min read