
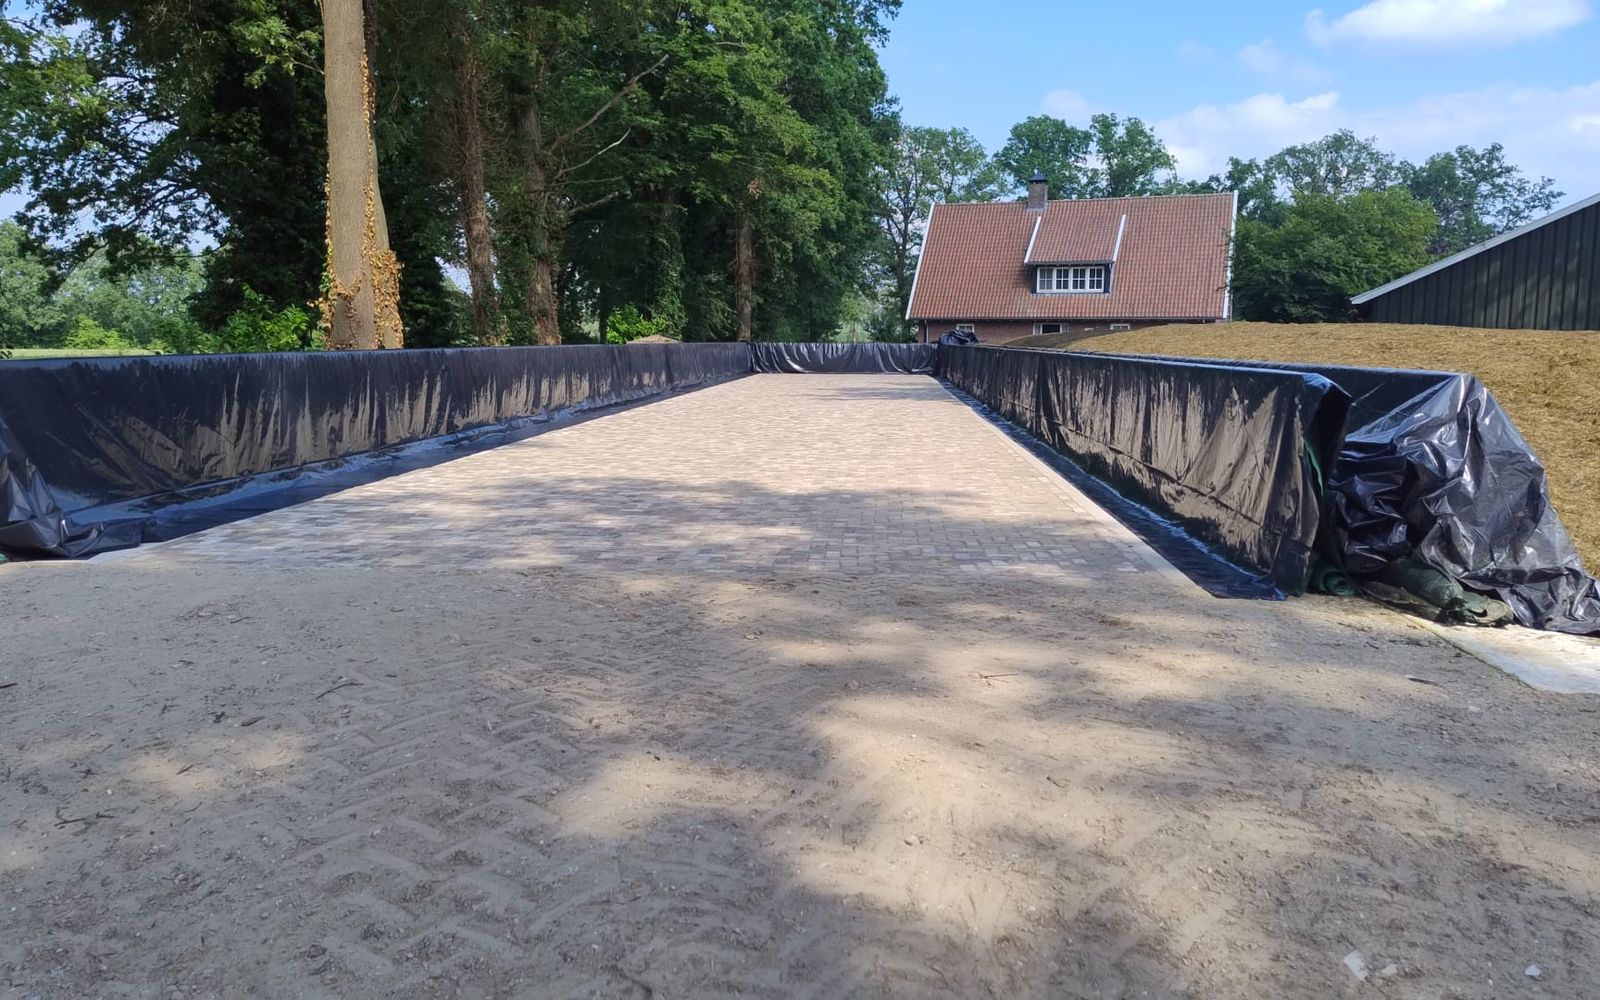
Prepare your silage pit well before ensiling. Clean and dry the pit and the access route, mow around it and make sure gullies and drains are open. Check the walls and floor for cracks, worn sealant joints and sharp edges. Then lay side-wall plastic down to the floor and have all materials ready.
Part of the guideCovering a silage pit: step by step to a well-sealed pit
with Silage Safe, leave at least this much plastic on the floor so rainwater can't run into the silage
Silage Safe, manual in the brochure 2026after that, the sealant joints in the walls are often worn and water leaks in along the wall
Silage Safe experienceGood silage starts well before you cover it. What you do before ensiling shows up in the quality of your silage. A pit that hasn't been prepared properly almost always causes problems: torn plastic, air getting in or water running into the silage along the walls.
Hygiene in particular is often underestimated. Anything left in the pit gets ensiled with the crop. Without noticing, you add moulds and bacteria that speed up heating and spoilage. These 6 steps give you a good start.
Ensiling is a fermentation process in which you want the right bacteria to take over. If you bring in contamination, unwanted micro-organisms get a head start. Spoilage happens faster and the risk of heating goes up. And once something is in the silage, you can't get it out again.
Good preparation also takes the stress out of the job. You work faster and make fewer mistakes. Preparation is the first step of covering a silage pit: step by step.
Old feed residue, leftover plastic and other dirt are a source of moulds and bacteria, and they attract pests. Clear everything away, remove standing water and sweep the floor. Also remove old tyres and litter: steel wires and sharp pieces in the feed can give your cows hardware disease. The pit must be empty, clean and dry before you start.
However clean your pit is, if there is slurry, mud or old feed on the access route, the tractors will still carry it into the silage. So clean the route to the pit as well. Contamination with soil and slurry is a well-known cause of butyric acid in silage. Andre Schulte from Denekamp: "Because we no longer use soil, the risk of butyric acid and listeria bacteria is much lower."
Keep grass and vegetation around the silage pit short. Then you can work neatly when putting the plastic in place and covering, and nothing punctures your plastic. Mow in good time: if you wait too long, hard stubble is left that is extra sharp. It makes holes in the plastic, and through those holes air gets in that leads to heating.
Mowing also helps against pests. Mice and rats like tall vegetation, because they can hide there from predators. The measures against pests at your silage pit help keep them away.
Everyone tries to keep air out of the silage, but water also does a lot of damage. Rainwater is much less acidic than good silage, brings in unwanted micro-organisms and washes out nutrients.
Your pit must be dry when you ensile. But during storage and feeding out, no water should stand in it either. Rainwater and silage effluent must be able to drain away. Check for:
Water problems often start in wet spells, just when you are paying less attention to the pit. A blocked drain or a surface that doesn't slope away properly seems minor, but has big consequences. What rainwater in silage does and how to keep it out is covered in a separate article.
Walls and floors wear, crack and get damaged. At the very least, check before every ensiling for:
If a wall sinks a little or a crack appears, a sharp point can form that damages the plastic. Protect a spot like that for now with an old sheet or something similar.
In a new silage pit, the wall joints are sealed. That sealant wears because of the weather and the acidic juices from the silage. In our experience, water (and air) often leaks in along the walls after one or two seasons. That is why you lay side-wall plastic or silage plastic over the walls: pull it down to the ground and leave a good length lying on the floor. If you work with Silage Safe, leave at least 20 centimetres on the floor. In silage plastic, underlay film and side-wall plastic you can see which film to choose.
Materials scattered around, or that you only start looking for during the job, cause delays and mistakes. Get everything you need ready beforehand: underlay film, silage plastic, covers or a covering system, and sandbags if you use them. Keep the work area tidy. When ensiling and covering, timing is everything, and this makes a big difference.
Thinking about a covering system? Silage Safe fits any silage pit with two walls and room on both sides for the covers and the plastic. You don't need to modify your pit: the covers are held between the pit wall and the silage. All sizes and parts are in the brochure on our product information page.
As clean as possible: no old feed residue, no old plastic, no standing water and no dirt on the floor. Anything left behind gets ensiled with the crop, including moulds and bacteria. Sweep the floor and also check the corners and along the walls, where remains of the last silage are often still lying.
Preparation, drainage and covering are all connected. However well you cover, if the basics aren't right, the problems remain. Ensiling soon? Then also read the tips for preserving your first cut.
 From the farm
“Even with last fall’s storm, everything is still tightly secured.”Hornstra, Ter Idzard (Netherlands) · read the story
Not sure about your silage?
We are happy to help.
Yes. A wet floor increases the risk of contamination, raises the pH and brings extra water into the silage. That makes preservation worse.
In most pits, yes. Sealant joints often wear after one or two seasons, and then water leaks into the silage along the walls. Side-wall plastic, or silage plastic laid over the wall down to the floor, keeps that water out.
At least before every ensiling. Look for cracks, worn sealant joints, sharp edges and subsidence. Small defects can damage your plastic.
Updated on 5 November 2026.
 Covering & protectingProblem & solution
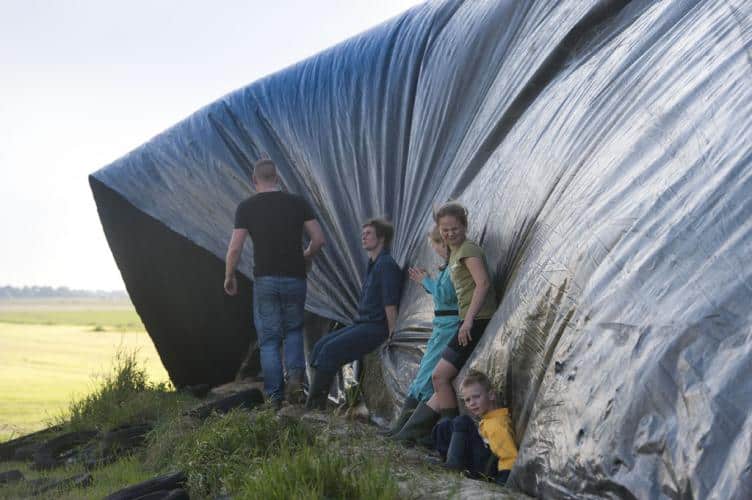
If the plastic blows loose in a storm, put it back quickly and hold it down with weight or covers, starting on…
Grass · Maize5 min read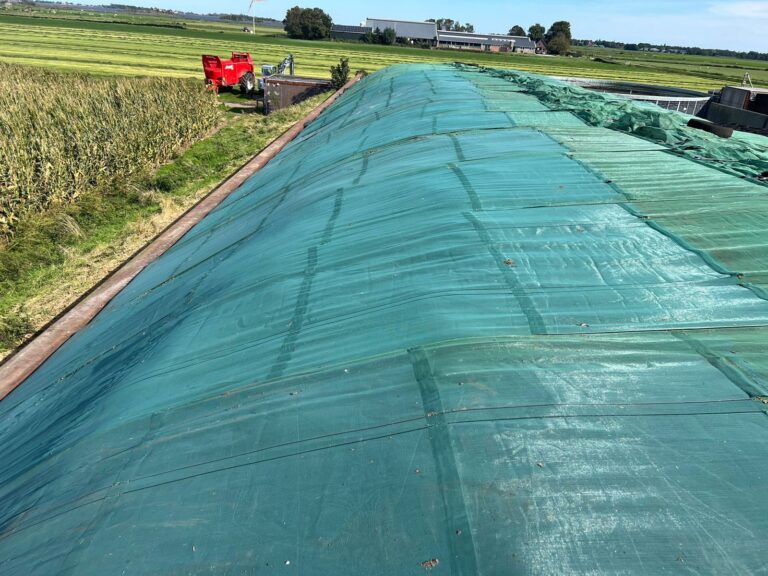 Covering & protectingGuide
Cover maize silage straight after rolling, with underlay film over the full width, a new top sheet and side-wall plastic along the…
Maize5 min read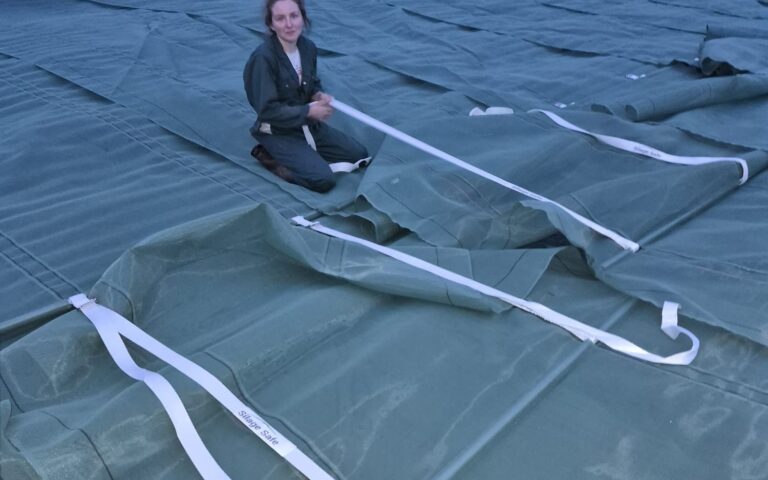 Covering & protectingGuide
Cover grass silage straight after rolling. In a field trial with bales, every hour of waiting cost about 1.5% dry matter; after…
Grass7 min read